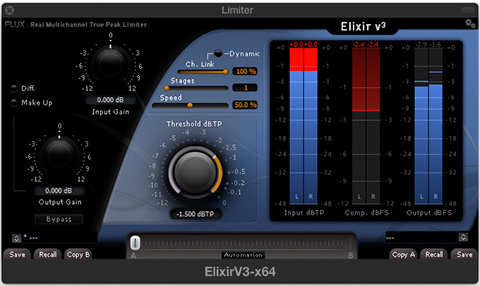
Below is Elixir by Flux. This is an ITU-R BS.1770/EBU R128 compliant multichannel True Peak Limiter. It’s just one of the tools available that can be used in the workflow described below. In this post I also mention the ISL True Peak Limiter by Nugen Audio.
If you have any questions about these tools or Loudness Meters in general, ping me. In fact I think my next article will focus on the importance of learning how to use a Loudness Meter, so stay tuned …
In my previous post I made reference to an audio processing workflow recommended by Thomas Lund. The purpose of this workflow is to effectively process audio files targeting loudness specifications that are suitable for internet and mobile distribution. in other words – Podcasts.
My first exposure to this workflow was reading “Managing Audio Loudness Across Multiple Platforms” written by Mr. Lund and included in the January 2013 edition of Broadcast Engineering Magazine.
Mr. Lund states:
“Mobile and computer devices have a different gain structure and make use of different codecs than domestic AV devices such as television. Tests have been performed to determine the standard operating level on Apple devices.
Based on 1250 music tracks and 210 broadcast programs, the Apple normalization number comes out as -16.2 LKFS (Loudness, K-weighted, relative to Full Scale) on a BS.1770-3 scale.
It is, therefore, suggested that when distributing Podcast or Mobile TV, to use a target level no lower than -16 LKFS. The easiest and best-sounding way to accomplish this is to:
[– Normalize to target level (-24 LKFS)
[– Limit peaks to -9 dBTP (Units for measurement of true peak audio level, relative to full scale)
[– Apply a gain change of +8 dB
Following this procedure, the distinction between foreground and background isn’t blurred, even on low-headroom platforms.”
Here is my interpretation of the steps referenced in the described workflow:
Step 1 – Normalize to target level -24.0 LUFS. (Notice Mr. Lund refers to LKFS instead of LUFS. No worries. Both are the same. LKFS translates to Loudness Units K-Weighted relative to Full Scale).
So how do we accomplish this? Simple – the source file needs to be measured and the existing Program Loudness needs to be established. Once you have this descriptor, it’s simple math. You calculate the difference between the existing Program Loudness and -24.0. The result will give you the initial gain offset that you need to apply.
I’ll point to a few off-line measurement utilities at the end of this post. Of course you can also measure in real time (on-line). In this case you would need to measure the source in it’s entirety in order to arrive upon an accurate Program Loudness measurement.
Keep in mind since random Program Loudness descriptors at the source will vary on a file to file basis, the necessary gain offset to normalize will always be different. In essence this particular step is variable. Conversely steps 2 and 3 in the workflow are static processes. They will never change. The Limiter Ceiling will always be -9.0 dBTP, and the final gain stage will always be + 8dB. The -16.0 LUFS target “math” will only work if the Program Loudness is -24.0 LUFS at the very beginning from file to file.
Think about it – with the Limiter and final gain stage never changing, – if you have two source files where file A checks in at -19.0 LUFS and File B checks in at -21.0 LUFS, the processed outputs will not be the same. On the other hand if you always begin with a measured Program Loudness of -24.0 LUFS, you will be good to go.
Examples:
[– If your source file checks in at -20.0 LUFS … with -24.0 as the target, the gain offset would be -4.0 dB.
[– If your source file checks in at -15.6 LUFS … with -24.0 as the target, the gain offset would be -8.4 dB.
[– If your source file checks in at -26.0 LUFS … with -24.0 as the target, the gain offset would be +2.0 dB.
[– If your source file checks in at -27.3 LUFS … with -24.0 as the target, the gain offset would be +3.3 dB
In order to maintain accuracy, make sure you use the float values in the calculation. Also – it’s important to properly optimize the source file (see example below) before performing Step 1. I’m referring to dynamics processing, equalization, noise reduction, etc. These options are for the most part subjective. For example if you prefer less compression resulting in wider dynamics, that’s fine. Handle it accordingly.
Moving forward we’ve established how to calculate and apply the necessary gain offset to Loudness Normalize the source audio to -24.0 LUFS. On to the next step …
Step 2 – Pass the processed audio through a True Peak Limiter with it’s Peak Ceiling set to -9.0 dBTP. Typically I set the Channel or “Stereo” Link to 100%, limiting Look Ahead to 1.5ms and Release Time to 150ms.
Step 3 – Apply +8dB of gain.
You’re done.
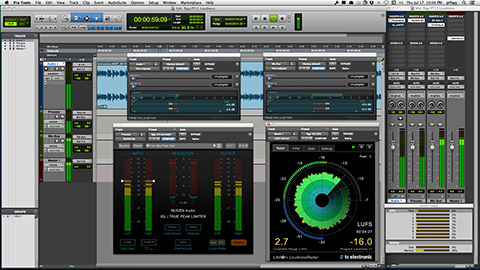
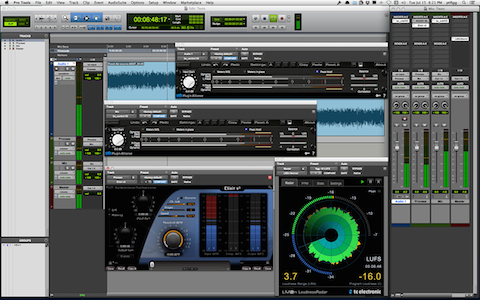
You can set this up as an on-line process in a DAW, like this:
I’m using the gain adjustment feature in two instances of the Avid Time Adjuster plugin for the initial and final gain offsets. The source file on the track was first measured for Program Loudness. The necessary offset to meet the initial -24.0 LUFS target was -4 dB.
The audio then passes through the Nugen ISL True Peak Limiter with it’s Peak Ceiling set to -9.0 dBTP. Finally the audio is routed through the second instance of the Adjuster plugin adding +8 dB of gain. The Loudness meter displays the Program Loudness after 5 minutes of playback and will accurately display variations in Program Loudness throughout. Bouncing this session will output to the Normalized targets.
Note that you can also apply the initial gain offset, the limiting, and the final gain offset as independent off-line processes. The preliminary measurement of the audio file and gain offset are still required.
Example Workflow
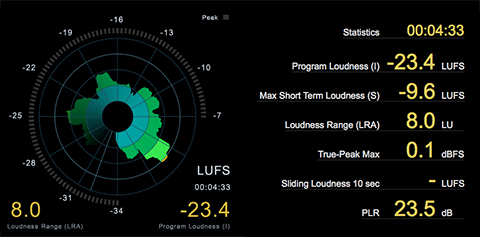
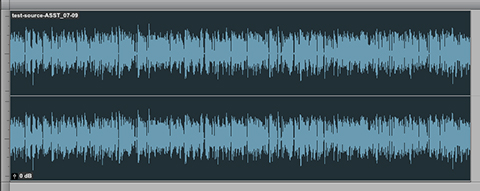
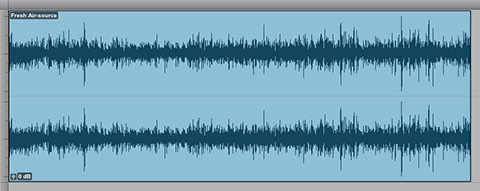
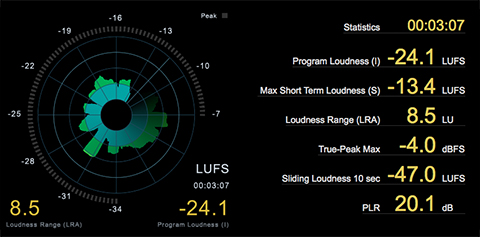
Review the file attributes:
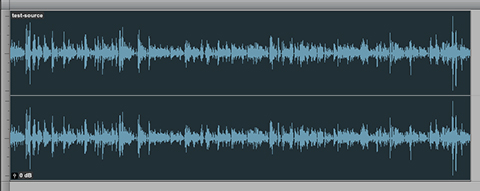
The audio is fairly dynamic. So I apply an initial stage of compression:
Next I apply additional processing options that I feel are necessary to create a suitable intermediate. I reiterate these processing options are entirely subjective. Your desire may be to retain the Loudness Range and/or dynamic attributes present in the original file. If so you will need to process the audio accordingly.
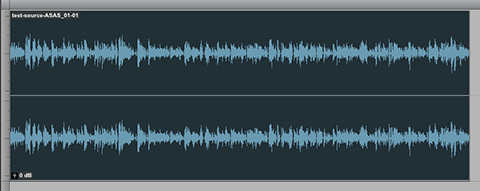
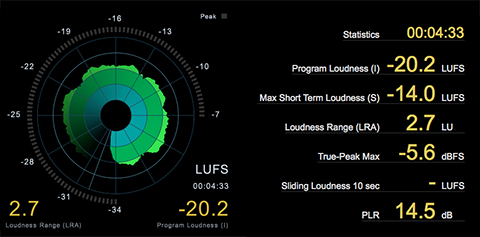
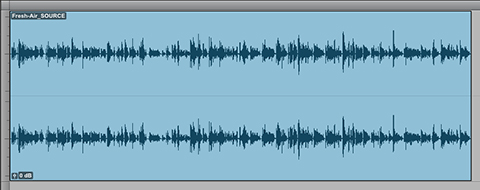
Here is the intermediate:
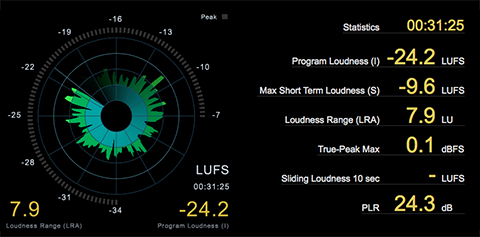
The Program Loudness for this intermediate file is -20.2 LUFS. The initial gain offset required would be -3.8 dB before proceeding.
After applying the initial gain offset, pass the audio through the limiter, and then apply the final gain stage.
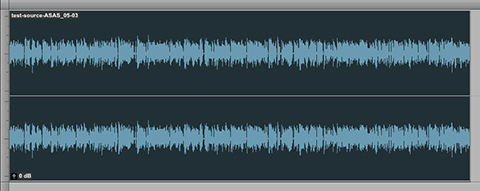
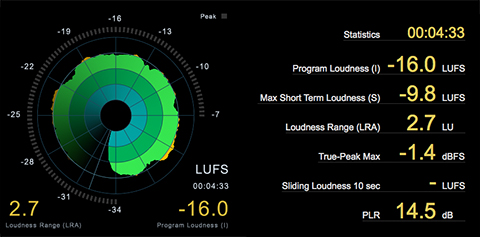
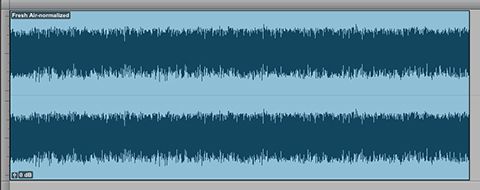
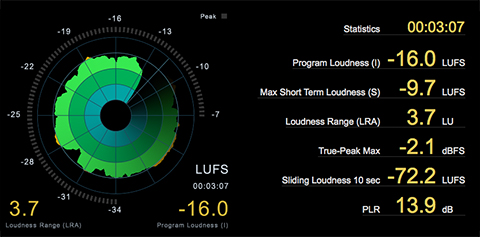
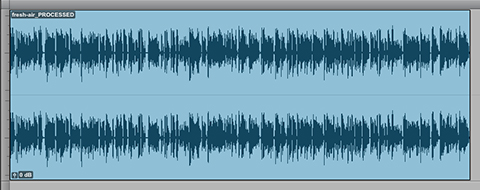
This is the resulting output:
That’s about it. We’re at -16.0 LUFS with a suitable True Peak Max.
I’ve experimented with this workflow countless times and I’ve found the results to be perfectly acceptable. As I previously stated – preparation of your source or intermediate file prior to implementing this three step process is subjective and totally up to you. The key is your output will always be in spec..
Offline Measuring Tools
I can recommend the following tools to measure files “off-line.” I’m sure there are many other options:
[– The new Loudness Meters by TC Electronic support off-line measurements of selected audio clips in Pro Tools (Audio Suite).
[– Auphonic Leveler Batch Processor. I don’t want to discount the availability and effectiveness of the products and services offered by Auphonic. It’s a highly recommended web service and the standalone application that includes high quality audio processing algorithms including Loudness Normalization.
[– Using FFmpeg from the command line.
Example syntax:
ffmpeg -nostats -i yourSourceFile.wav -filter_complex ebur128=peak=true -f null –
[– Using r128x from the command line.
Example syntax:
r128x yourSourceFile.wav
Note there is a Mac only front end (GUI) version of r128x available as well.
-paul.
